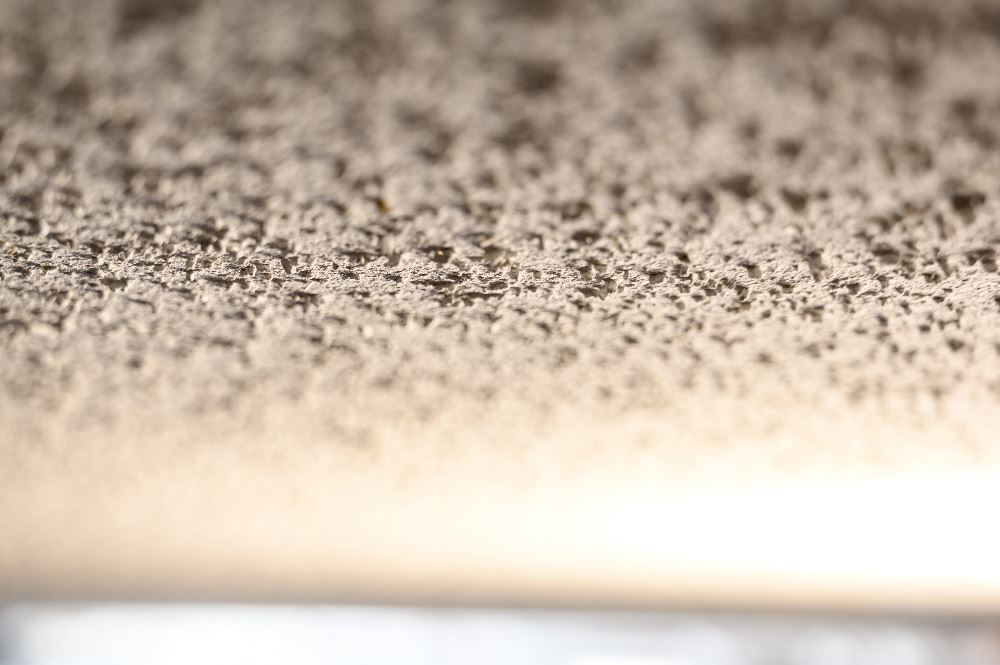
How to Clean a Popcorn Ceiling
Sometime in the 1950s, the textured finish commonly known as a popcorn, cottage cheese, or acoustic ceiling came into vogue. These ceilings were ubiquitous in homes built in the 1950s through the 1980s, though they became a bit less common in new homes built after that. Thanks to their sound-dampening benefits, nostalgic style, and budget-friendly textured technique, popcorn ceilings are still found in many homes around the country—even in some new constructions. However, their fragile texture and permeable nature present a distinct cleaning challenge. Our cleaning experts at Merry Maids® have some tips on the best ways to safely clean popcorn ceilings—without making an even bigger mess.
Preparing to Clean a Popcorn Ceiling
Before you get started, there are a few things to keep in mind. First, and most importantly, the materials used to create popcorn ceilings often contained asbestos before it was banned in the U.S. as a known carcinogen. While ceilings in homes built after 1978 should be asbestos free, it was not unheard of for suppliers to continue selling the stock they had on hand, asbestos or not, well into the ’80s. If your home was built during this time period, consider having your ceiling tested for asbestos before attempting to clean it. At the very least, use extreme caution, as asbestos particles released into the air pose a serious health hazard.
If you’ve lived any length of time in a home with popcorn ceilings, you’ve likely experienced how easily the textured bumps break off when disturbed. Whether you simply plan to remove dust and cobwebs from your acoustic ceiling or you want to get rid of grease, smoke, or other set-in stains, you’ll want to be careful to avoid showering everything below with wayward particles. If possible, move furniture or cover it with plastic sheets or drop cloths for easier cleanup. It’s also smart to wear a dust mask and safety glasses to protect your eyes and lungs from any debris.
Dusting an Acoustic Ceiling
If your main concerns are dust and spiderwebs, cleaning a popcorn ceiling isn’t too difficult. Grab a stepladder and give one of these three methods a try:
Vacuum
This may be the easiest and most straightforward method of cleaning popcorn ceilings. Use your vacuum cleaner’s brush attachment and carefully vacuum the area of the ceiling. Be as gentle as possible to avoid breaking off bits of texture—though this method has the cleanup built in.
Feather Duster
A good old fashioned reusable duster will work better than the disposable kind, since the design of the latter can catch on the texture, taking bits of ceiling with it and leaving fibers in its place. Gentle feather dusting is especially useful when you just need to spot-clean some cobwebs or tidy up the corners.
Lint Roller
A sticky lint roller can collect dust and spiderwebs from a popcorn ceiling, too. You can also wrap duct tape around a soft paint roller, sticky side out, to achieve the same effect but with a larger surface area.
Removing Stains from a Popcorn Ceiling
Popcorn ceilings are a magnet for stains caused by residue from things like grease, mildew, and cigarette smoke, turning a bright white surface dingy and discolored. These stains can be tricky to remove, but not impossible! Before trying any of these techniques, start by dusting the ceiling using one of the above methods. Next, test a small, inconspicuous area with your chosen solution to make sure it won’t damage or dissolve the popcorn texture, since texturizing materials can be sensitive to water.
Depending on the type of stain, there are three methods you can employ to clean your popcorn ceiling.
- Easier Stains: Sponge or paint roller with cleaning solution.
- Water Stains: Use water and bleach mix in spray bottle.
- Challenging Stains: Apply paint and primer to cover stains.
Read on below for a more in-depth discussion of each method.
Option 1: Warm water and liquid dish soap. Use this mixture for everyday stains like cooking grease or cigarette smoke.
Use a soft, thick-nap paint roller or a soft sponge to apply the cleaning solution to the ceiling. Make sure to wring out excess liquid before applying—your roller or sponge should only be damp, not dripping, to prevent any unnecessary damage to the texture. Rinse the roller or sponge frequently as you go. If you prefer, you could also use a misting spray bottle to apply the solution, though you want to be careful not to saturate the ceiling with moisture.
Option 2: Water and bleach. Mix a solution of one part water to one part bleach for mildew or water stains.
Fill a misting spray bottle with the bleach solution and spray lightly on the stains. Be sure to wear safety glasses with this one! Let the ceiling air-dry completely. If the stain persists after the area has dried, treat the area again the same. However, you want to be sure the area is thoroughly dry before re-treating, since too much moisture can damage popcorn ceilings.
Option 3: Paint. Use an oil-based, stain-blocking primer and acrylic paint to cover up set-in stains.
Because popcorn ceilings can be so reactive to moisture, sometimes the best way to brighten up the ceiling and eliminate stains is to paint. This can also help protect the textured ceiling from moisture damage in the future. Use a soft, thick-nap paint roller (¾ in. or more is ideal) or a paint sprayer to get the best coverage with the least amount of damage. Keep in mind that the popcorn texture actually adds surface area (and provides the acoustic, sound-dampening benefits), so you will need more paint than you may think.
Leave the Everyday Cleaning to Merry Maids®
While popcorn ceilings generally only need to be cleaned once a year or on an as-needed basis, plenty of chores around your home need to be done much more often. Our cleaning professionals at Merry Maids can provide regular house cleaning on a schedule convenient to you, so you can take back your time for more of the things you enjoy. Request your free estimate today.


.2210140805553.jpg)